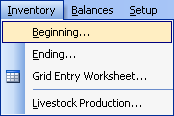
From the main menu bar, click Inventory then select Beginning.
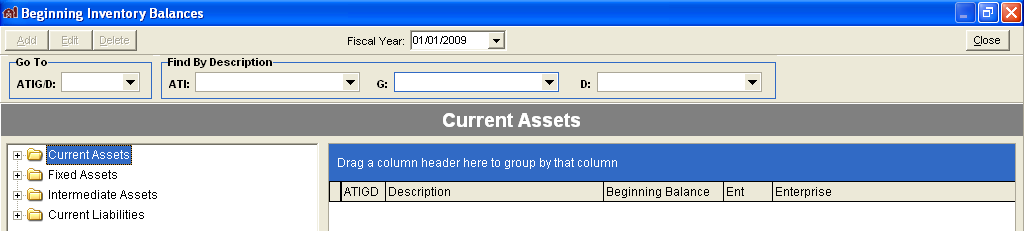
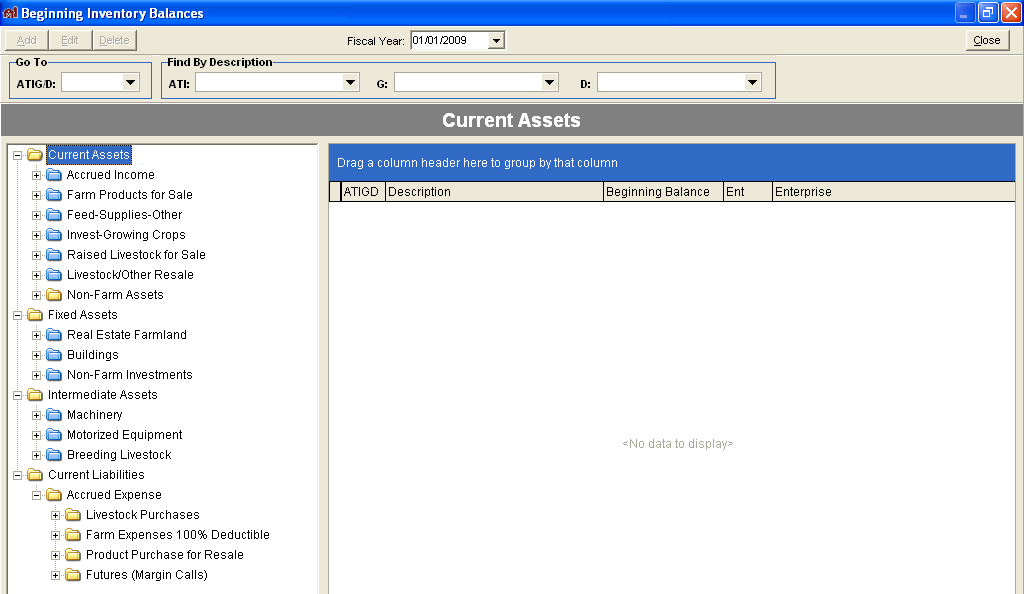
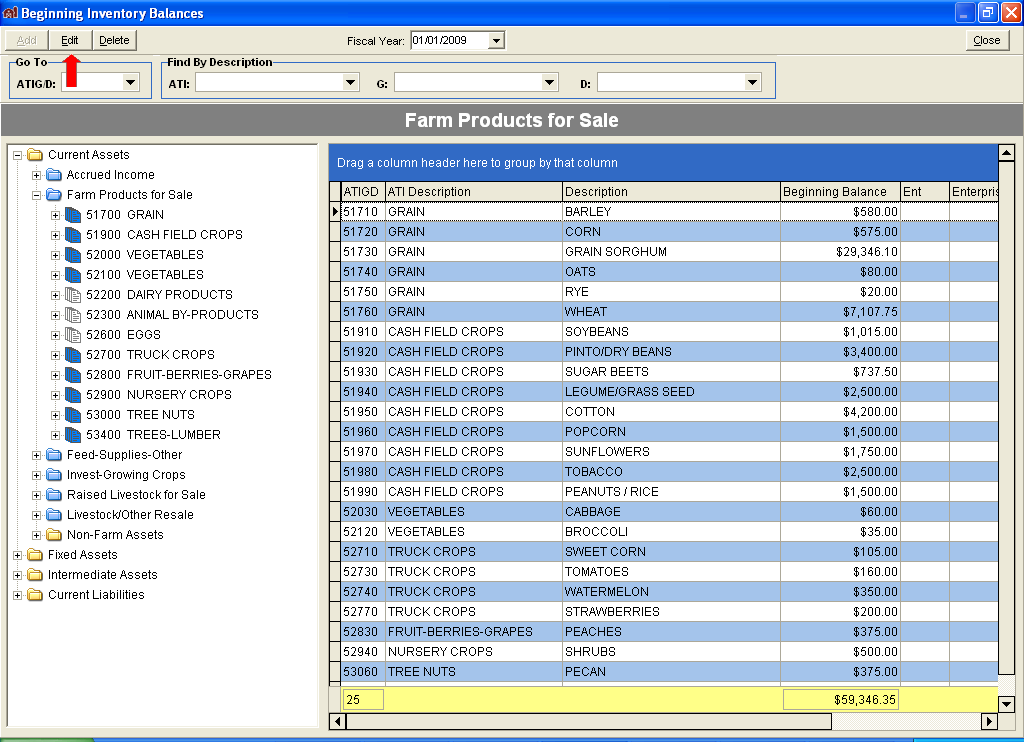
The Beginning Inventory Balances window will open. Three main categories of assets are shown in the left window, Current Assets, Fixed Assets, Intermediate Assets, and Current Liabilities.
Sub-category symbols are white or yellow if inventory balances have not been entered but are blue if balances have been entered. A plus (+) symbol beside a category indicates there are additional sub-categories when the category is clicked. Continue to open categories in the list by clicking until the list contains inventory codes that do not have a plus symbol.
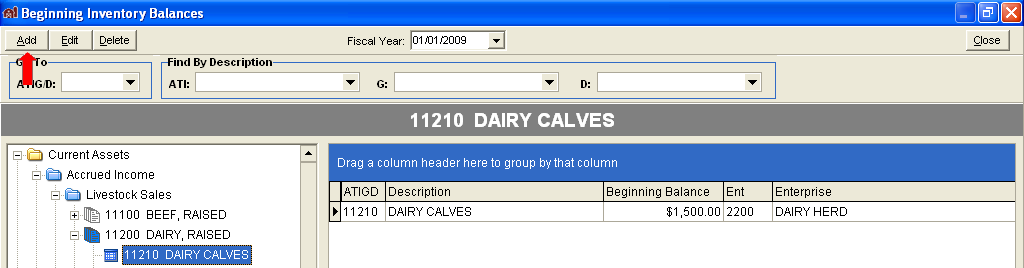
Click an inventory code to highlight it, and then click ADD at the top of the window.
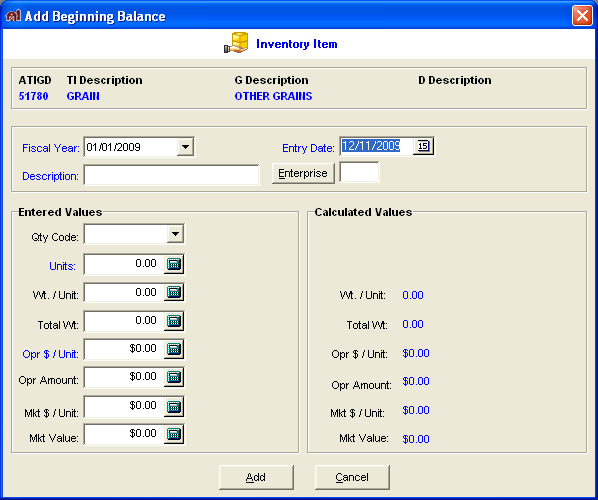
The Add Beginning Balance window will open.
In the top section of this window is a description of the selected ATIGD code.
The next section shows the Fiscal year for this beginning balance and the entry date.
Add a description to make this entry more meaningful on the financial reports or accept the default of the G description.
Enter a valid Enterprise code if this inventory transaction should be allocated to a specific enterprise. Display a list of valid enterprise codes for selection by clicking the Enterprise button. See Setup: Enterprise Codes to enter the valid enterprise/lot numbers for your organization.
All fields in the Entered Values column are optional except Units and Opr$/Unit, which are required.
Enter a quantity code or click on the drop-down button to display a list of quantity codes and select from the list.
Enter a value in the other fields or click the calculator button to the right of the field to calculate and enter the amount in the field.
To edit an inventory entry, click on an entry in the list of beginning balances, then click the Edit button or double-click on the entry. To save the changes, click the Update button to record the changes or Cancel to discard the changes.
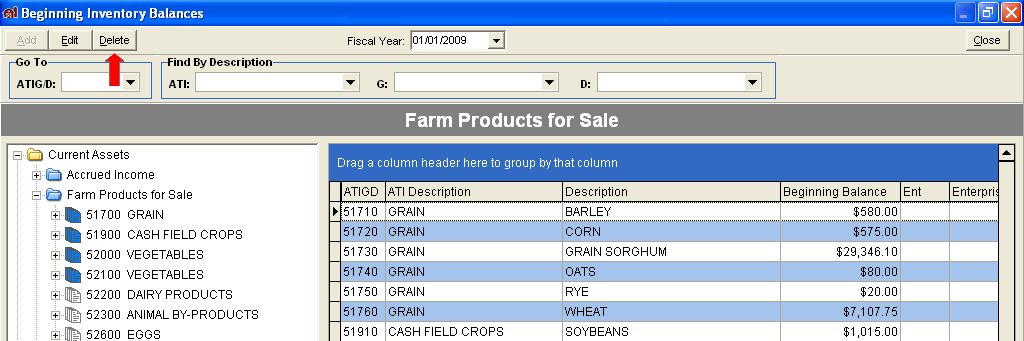
To delete an inventory entry, click an entry in the list of beginning balances to select it, and then click the Delete button. The screen showing the current beginning balance information will display. Click the Delete button at the bottom of this screen to delete the entry, otherwise click the Cancel button to retain the entry. To delete multiple entries, select multiple grid lines and press the delete key. A confirmation window will be displayed showing the number of records that will be deleted. Press yes to delete the selected records or no to abort the delete.